
This course guide gathers, on a single page, everything Project Together does beyond the 10 steps: the menu keys that keep your project alive once it is on the board, and the folder where you hand the AI your project’s documents. The 10 steps take the project from the charter to the close; the keys in this guide are for adjusting, checking, asking and working faster at any point along the way.
One rule holds for all of them: before writing to your board, the key shows what it is about to do and asks. None of them deletes anything without your confirmation.
What do you want to do?
| I want to… | Use |
|---|---|
| Have the newest version of the course | Key 0 |
| Have the AI read my project’s documents | The ai-files folder |
| Compare the answers of two AIs | Key C |
| Ask a question about my project | Key ? |
| Add an objective, a deliverable, a stakeholder or activities | Key + |
| Remove one of those items | Key − |
| I adjusted dates or costs on the board: redo the numbers | Key R |
| Generate my Word and Excel documents again | Key D |
| The board changed: update the Project Charter | Key E |
| Edit the whole board in Excel | Key L |
| Adjust the risk log in Excel | Key I |
| Know how my project is doing and what to do now | Key P |
| Check that the project still reaches what I promised | Key K |
| Redo a step from scratch | Key Z |
1. Keep the course up to date — key 0
When you open the course with start, it checks once a day whether a new version is out and asks whether you want to update. Key 0 does the same whenever you like. The update replaces the course scripts and keeps your .env (your token, your board and your progress). The previous scripts are kept in the _backup_scripts folder.
A feature mentioned in this guide is missing from your menu? Update first.
2. Give the AI your project’s documents — the ai-files folder
The commercial proposal, the client’s report, the kickoff minutes: documents like these help the AI decide better. Put them in the ai-files folder, next to start, and every prompt of the course lists those files at the end, asking the AI to read them. There are two ways:
- Attach the file that is on your computer: the black window tells you how many files the prompt lists and opens the folder; you drag the files into the AI chat and only then paste the prompt. It works with any AI that accepts attachments, confidential documents included.
- Send the link to a file in Google Drive or OneDrive: one line in
ai-files\links.txt. It only works if the link is open (“Anyone with the link”) and your AI browses the internet. A confidential document never goes by link.
Do not paste document text into cards: the card goes whole into every prompt. Full walkthrough: files for the AI.
3. Hear two AIs and keep the best — key C
Where two AIs agree, you can trust more; where they diverge, the decision is yours — and that is where you learn the most. Key C (Consolidate) takes the legwork out of comparing:
- Run a step and paste the same prompt into two different AIs (or twice into the same one).
- Paste both answers into the 0. Inbox card on your board, one below the other. The same label showing up twice (
[1.2],[2.1]…) is what tells the course there are answers to compare. - Press C: the consolidation prompt, with both answers already inside, goes to your clipboard.
- Paste it into any AI. It returns where the answers agree, where they diverge, what to check, and one consolidated answer.
- Replace the two answers in the Inbox with the consolidated one and run the step as usual.
4. Ask a question — key ?
Three doors: stuck on the justification (the AI helps draw the project’s why out of you), did not understand a term, or any question, in your own words. In all three, the prompt already carries your project’s context, read from the board, so the answer is about your case, not a textbook one. Key ? writes nothing to the board: asking is only reading.
5. Add and remove without redoing the step — keys + and −
Key + (Add): an OKR objective, a deliverable, a stakeholder or activities. You answer what the item needs, it shows it and writes it straight away, with no AI — in the Project Charter and in the board list where the item lives. It only adds: what was already good stays as it is. The only case that calls for the AI’s help is a new objective that has no key result yet.
Key − (Delete): the sister of +, with the opposite verb. It lists what exists, you pick a number, it shows what depends on that item and removes only that one — the other objectives, deliverables and stakeholders stay where they were, and the step stays done.
6. I adjusted the board: numbers, documents and Project Charter — keys R, D and E
A project moves both ways: you postpone a package, change a cost, find a deliverable that was missing. You do not need to redo any step. Adjust the card in ProjectAdm and use the right key:
- R — Recalculate the plan. With no AI, it redoes what is arithmetic: it pushes the activities that depend on the late one (respecting the dependency type, counting working days only, and never pulling anything earlier), rolls the dates up to deliverables and phases, redoes the budget and generates the documents again. It simulates first and writes only with your “yes”.
- D — Generate my documents. The project documents (Project Charter, Canvas, WBS Dictionary, schedule, budget, logs…) are already created on their own when you finish each step, in
_saida\documentos. Key D generates again every one your board already supports — for example, after you edit a card. It only reads the board. - E — Reverse engineering. The way back: it reads the board lists (the WBS, the stakeholders, the risks and assumptions…) and shows, side by side, what each Project Charter card says today and what the board implies. You decide, card by card, whether to update. A charter card with no list behind it is never touched.
The WBS (Work Breakdown Structure) is the breakdown of the deliverables into work packages, built in Step 2.
7. Work in Excel — keys L and I
Key L — the project spreadsheet. Your whole board in Excel: a tab for the Project Charter, one for the OKR, one for the risks and one tab for each board list, with all its cards.
You edit in Excel, press L, and it shows what changed on the board, in the spreadsheet or on both. What changed only in the spreadsheet it simulates and writes with your “yes”, keeping a backup first; what changed only on the board it brings in by generating the spreadsheet again (the previous one is kept, with the date in its name); if the same field changed on both sides, it is a conflict, and nothing is written until you choose.
On the list tabs, the title and the description go back; a new or deleted row does not create or delete a card. Full walkthrough: project spreadsheet.
Key I — the risks come back from Excel. Reassessing the probability and impact of thirty risks is much faster in a spreadsheet, with the filter on. Generate the log (in Step 3 or with key D), adjust it in Excel, save, and press I: each row goes back to the card it came from, by the number the spreadsheet carries. Here, unlike key L, a new row at the end becomes a new item on the board. Nothing is deleted, and it shows everything before writing.
8. Know where I am — keys P and K
Key P — the project’s health. It answers “how is my project now, and what do I do next?”.
First it checks that the pieces are in place (your .env and the board lists); then it shows where you are in the 10 steps, whether the Project Charter is complete, whether the OKR still holds, and planned versus actual in time and cost, compared with the baseline — the plan frozen at approval, in Step 5.
Key K — my OKRs. Three questions: is your OKR measurable (every key result has a target, with a number and a unit)? Does every key result have a deliverable that reaches it? How much has been delivered, per objective? It does not say a key result was achieved: the real value lives in the world, not on the board, and you are the one who measures it, in Step 10.
The steps are not a queue: after Step 1 you run what the project asks for, and Steps 6 to 9 repeat throughout the project. Key P is the fastest way to know which one is next.
9. Redo a step from scratch — key Z
Want to generate the scope, the risks or the schedule again? Key Z takes the board back to the start of the step you choose: it deletes only what that step and the following ones created, and keeps what came before. In Step 1 you choose which parts of the charter to reopen (the OKR, the deliverables, the stakeholders…). It always shows first what it will delete, and deletes only after you type the step number to confirm.
To remove one item only, use key −, not Z.
Where everything is in the course folder
| Folder or file | What it holds |
|---|---|
ai-files\ |
The documents and the links.txt you want the AI to read |
_saida\ |
Each step’s prompts (prompt-….txt), in case the clipboard fails |
_saida\documentos\ |
The project documents in Word, Excel and PowerPoint |
_saida\planilha\ |
The project spreadsheet, the board snapshot (base.json, do not delete) and the backups |
.env |
Your course configuration. Never share it: it may hold your token |
The course guide and the 10 steps
This guide is the companion. The steps, one by one, are on the Project Together AI course page.
Project Together
Track your progress through PMBOK 8
Create your free account to save your reading progress, earn points on every quiz, and unlock certificates as you master each domain.
Create Free Account →Free forever • No credit card required
Go deeper in the book
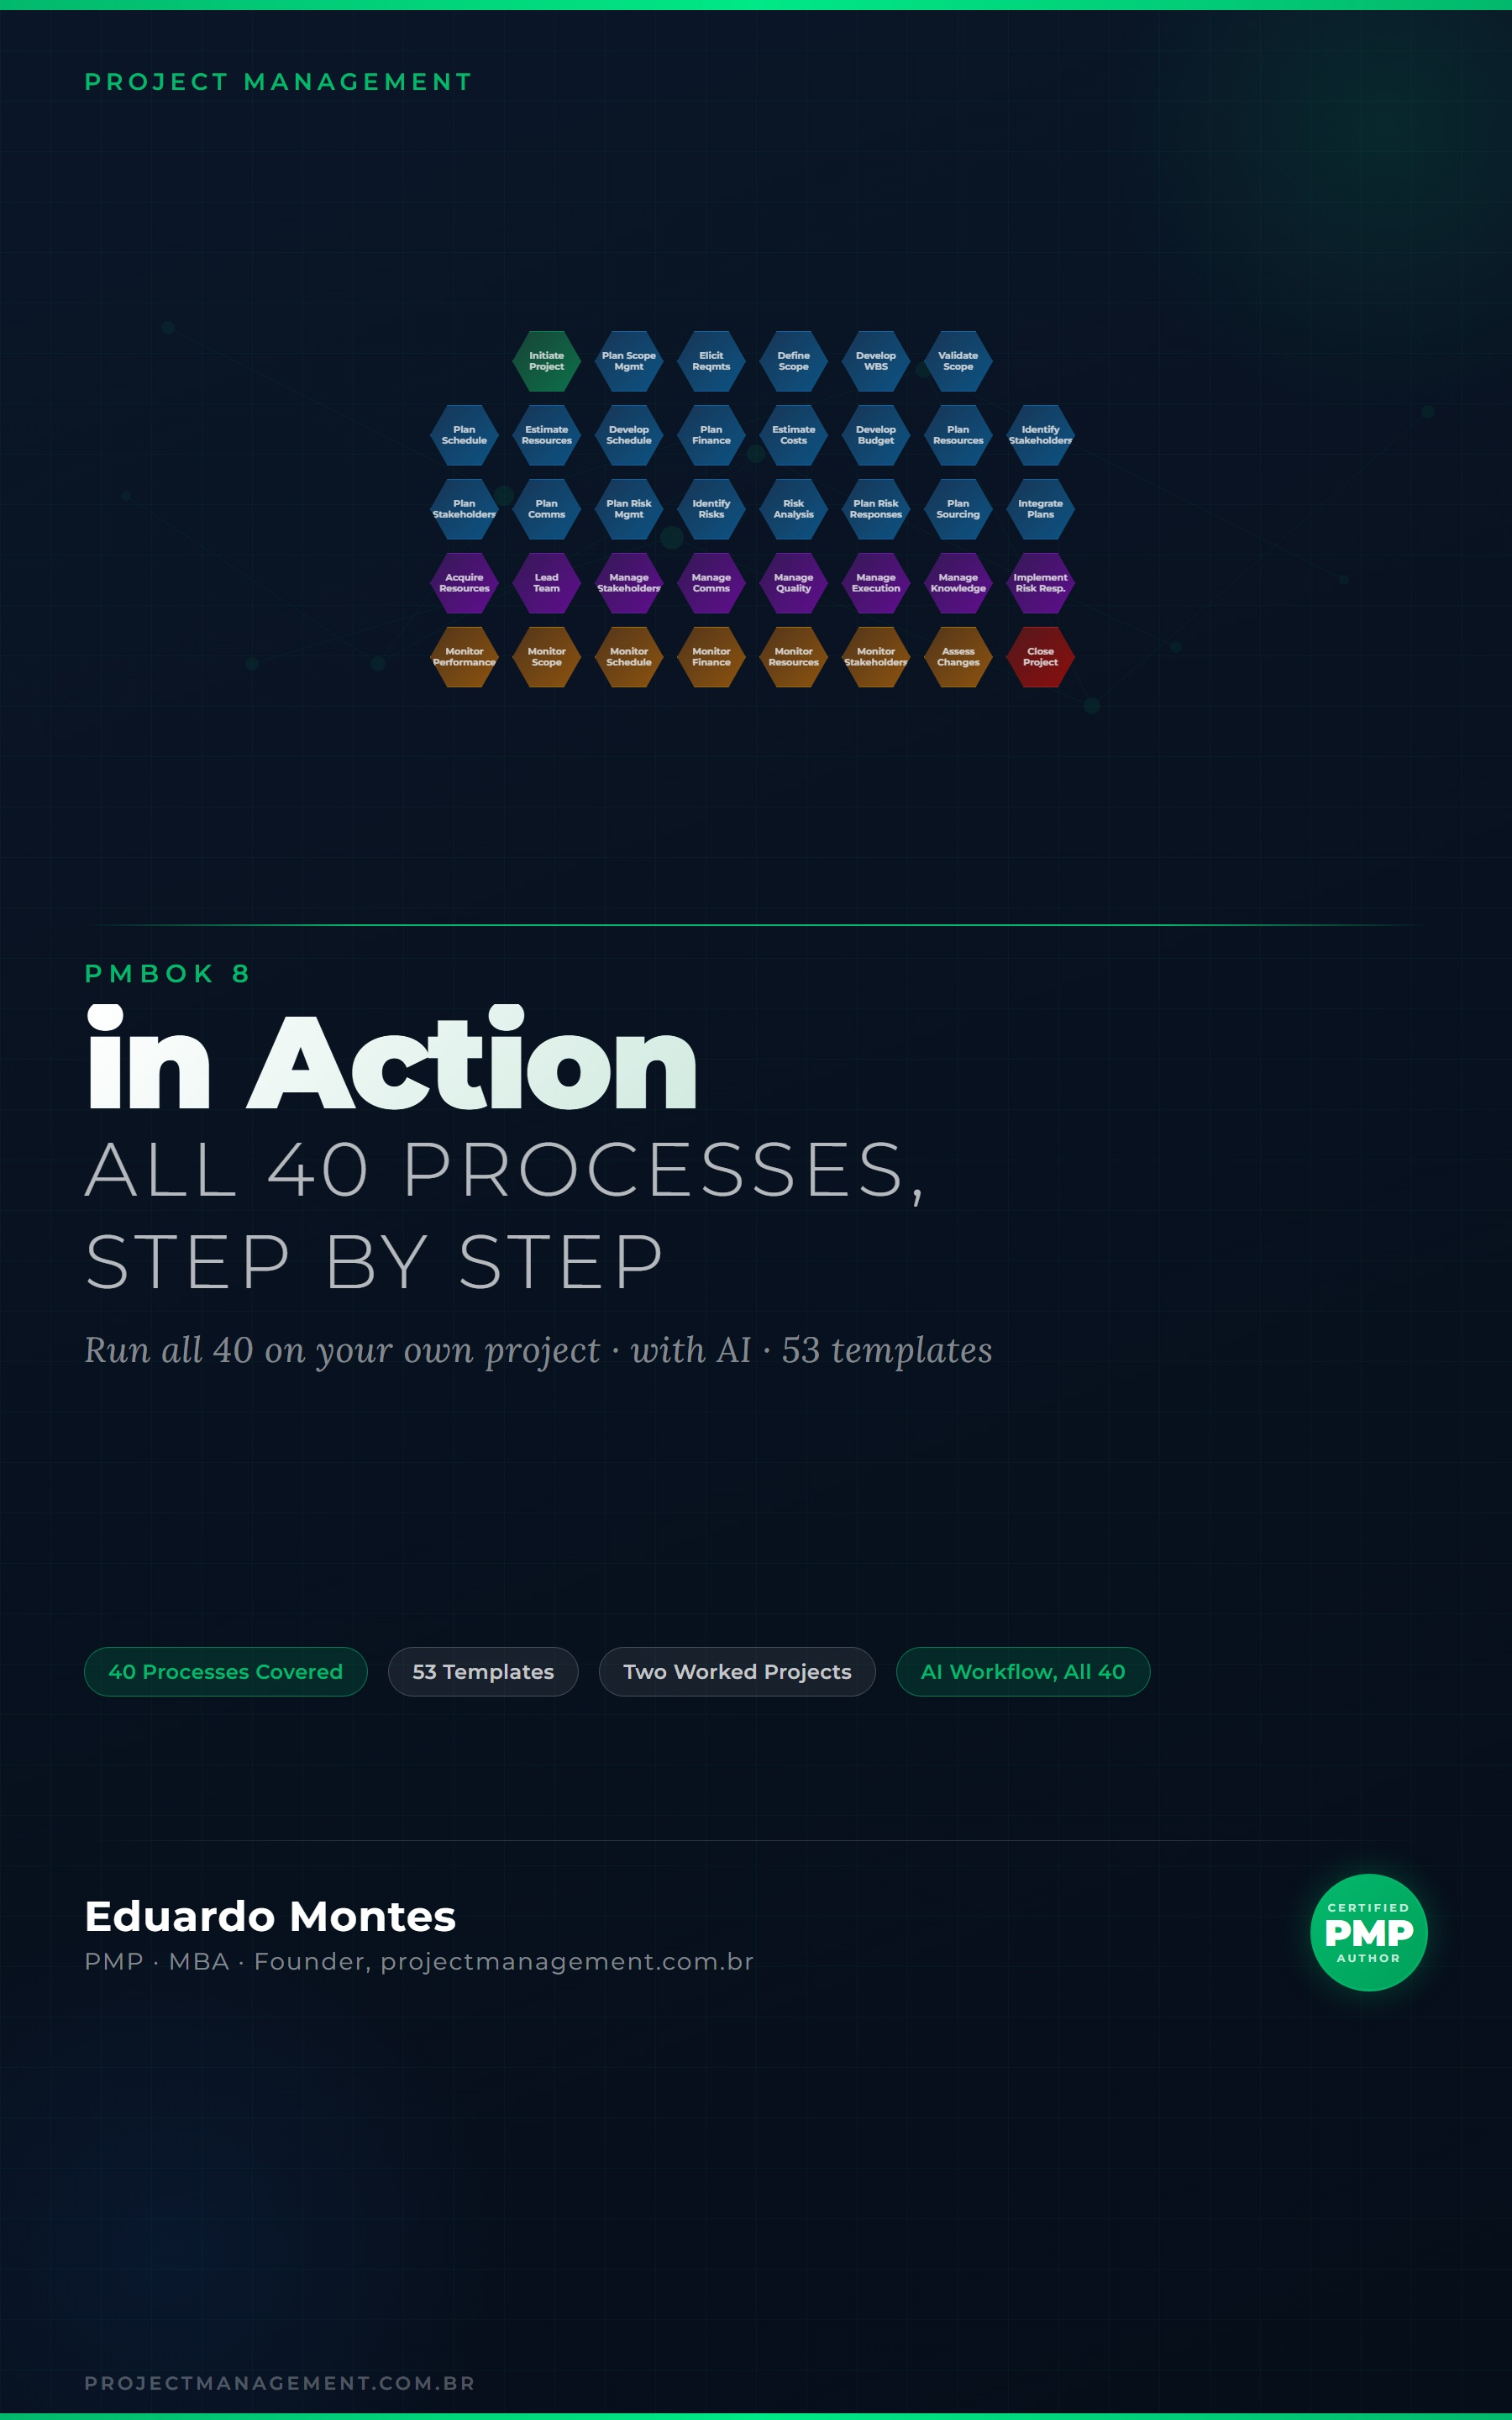
PMBOK 8 in Action
The 40 processes of the PMBOK 8 Guide applied to one real project, with the finished artefact at every step.
See the book — US$ 9.98 →
 Project Together Office