
The project spreadsheet is your whole ProjectAdm board in an Excel spreadsheet — and back. Sometimes it is much faster to review twenty risks, rewrite the WBS descriptions or tune the OKR key results in a spreadsheet than card by card. You edit in Excel, press L in the course menu, and what you changed goes back to the board.
This page shows how to generate the spreadsheet, what each tab holds, what goes back to the board, and how to sync both sides without one erasing the other.
This article is the walkthrough of one of the features in the Project Together course guide, which gathers on one page everything the course does beyond the 10 steps.
Before you start: update your course. In the menu, press 0 (Update the course version). The spreadsheet with every list on the board arrived in the 10/11/2026 version.
1. Generate the spreadsheet from the board
- In the course menu, press L (Sync the project sheet).
- The first time, it asks: “Generate the sheet from the board now?” Press y and Enter.
- The spreadsheet is created at
_saida\planilha\Project sheet.xlsx, inside the course folder. Generating only reads the board: nothing on it changes.
Next to the spreadsheet, a base.json file is created too. It is the snapshot of the board at the moment the spreadsheet was generated, and it is how the course knows who changed what. Do not delete or edit that file.
Did you already have a spreadsheet?
A spreadsheet generated before 10/11/2026 has no tabs for the lists. Press L: it shows each missing list (“list with no tab in the sheet”) and offers to generate it again. Accept. The old spreadsheet is not deleted: it stays next to the new one, with the date in its name — Project sheet (before 20261110-191346).xlsx. If you had edited the old spreadsheet and not yet carried the edit to the board, it carries that edit first (section 4); press L again and it then offers the new spreadsheet.
2. What each tab holds
| Tab | What it holds | What goes back to the board |
|---|---|---|
| Read me | The spreadsheet’s rules, on one page | — |
| Cards | The Project Charter: one card per row (0.1 Context, 1.1 Justification, 2.1 Deliverables…) | The Content column |
| OKR | One objective or key result per row (O1, KR1.1…), with target, deadline and owner | Everything except the “Feeds (sheet only)” column; a new row at the end adds an objective or KR |
| Risks | The issue log: risks, assumptions, constraints and issues | Through key I (Import the risks from Excel) |
| Routines | Room for the team’s commitments | Stays in the spreadsheet only |
| One tab per list | Every list on the board — WBS, Stakeholders, Risks and Assumptions, Budget, Changes, References, Done — with all its cards, sub-cards included | The Title and the Description |
The WBS (Work Breakdown Structure) is the breakdown of your project’s deliverables into work packages, built in Step 2. On its tab, each package sits under its deliverable, with the Code (1, 1.1, 1.2…) and the Parent card next to it.
On the list tabs, the columns marked (read only) — Parent card, Start, Due, Done?, Progress %, Milestone?, Labels, Owners — are there to look up, filter and sort. To change a date or mark a card as done, change it on the board.
3. Edit in Excel
Rewrite, filter, sort, move columns around. Each row is linked to the board by the card number, not by the text. So, three cautions:
- Do not touch the “card (do not edit)” column, nor the label on the Cards tab (0.1, 1.1…) or the ID on the OKR tab (O1, KR1.1…).
- Do not touch row 2 of the list tabs (
#list=…): it links the tab to the list on the board. - A new row does not create a card, and a deleted row does not delete a card. To create or delete, do it on the board and generate the spreadsheet again. (The exception is the OKR tab, where a new row at the end adds an objective or KR.)
Save and close Excel before going back to the menu: while the spreadsheet is open, Windows does not let the course store the old copy.
4. Carry the edit to the board
- In the menu, press L.
- It shows what changed since the spreadsheet was generated.
- It simulates first: it shows, card by card, what would go up (the title before and after, the description with its length in characters).
- Check it and answer “Write this to the board now?” with y. With N, nothing is written.
- Before writing, it keeps a backup of every card about to change, in
_saida\planilha\backup-YYYYMMDD-HHMMSS.json. - Open the board and check.
5. Changed on the board? Bring it to the spreadsheet
You worked on the board — ran a step, created cards, changed dates. The spreadsheet is now behind. Press L: it shows what changed only on the board and asks “Generate the sheet again from the board?”. Press y. The new spreadsheet comes with everything the board has, and the previous one is kept next to it, with the date in its name.
How the two sides never erase each other
At every L, the course compares three things: the snapshot of the board from when the spreadsheet was generated, today’s board and today’s spreadsheet. That is how it knows which side each change came from:
| What happened | What key L does |
|---|---|
| Changed only in the spreadsheet | Simulates and, with your “y”, writes it to the board |
| Changed only on the board | Offers to generate the spreadsheet again (the old one is kept) |
| The same field changed on both sides | Conflict: writes nothing. It shows both values and you choose — undo the edit in the spreadsheet, or generate the spreadsheet again and redo it |
| The OKR changed on both sides, even in different fields | Does not carry the OKR (it goes up whole and would erase what changed on the board). Generate the spreadsheet again and redo the OKR edit |
When the board and the spreadsheet changed in different fields, key L first carries what you changed in the spreadsheet. Press L again to bring what changed on the board.
The project spreadsheet rhythm
- L before opening the spreadsheet, so you always work on today’s board.
- Edit in Excel, save and close.
- L again: check the simulation and write.
- Open the board and check.
Quick questions
Does the spreadsheet replace the board?
No. The project lives on the board: the course’s prompts, documents and reports come from it. The spreadsheet is a faster way to edit.
I adjusted the risks on the Risks tab. Why didn’t key L carry them?
Risks go back through key I (Import the risks from Excel), which understands the log’s columns. On the tab of the risks list, key L carries each card’s title and description.
I wrote something wrong. How do I undo it?
Each card’s previous text is in the backup-…json in the _saida\planilha folder. Copy it from there and paste it into the card, on the board.
Where do I learn the project steps?
On the Project Together AI course page. And if your AI needs to read the project’s documents to decide better, see files for the AI.
Project Together
Track your progress through PMBOK 8
Create your free account to save your reading progress, earn points on every quiz, and unlock certificates as you master each domain.
Create Free Account →Free forever • No credit card required
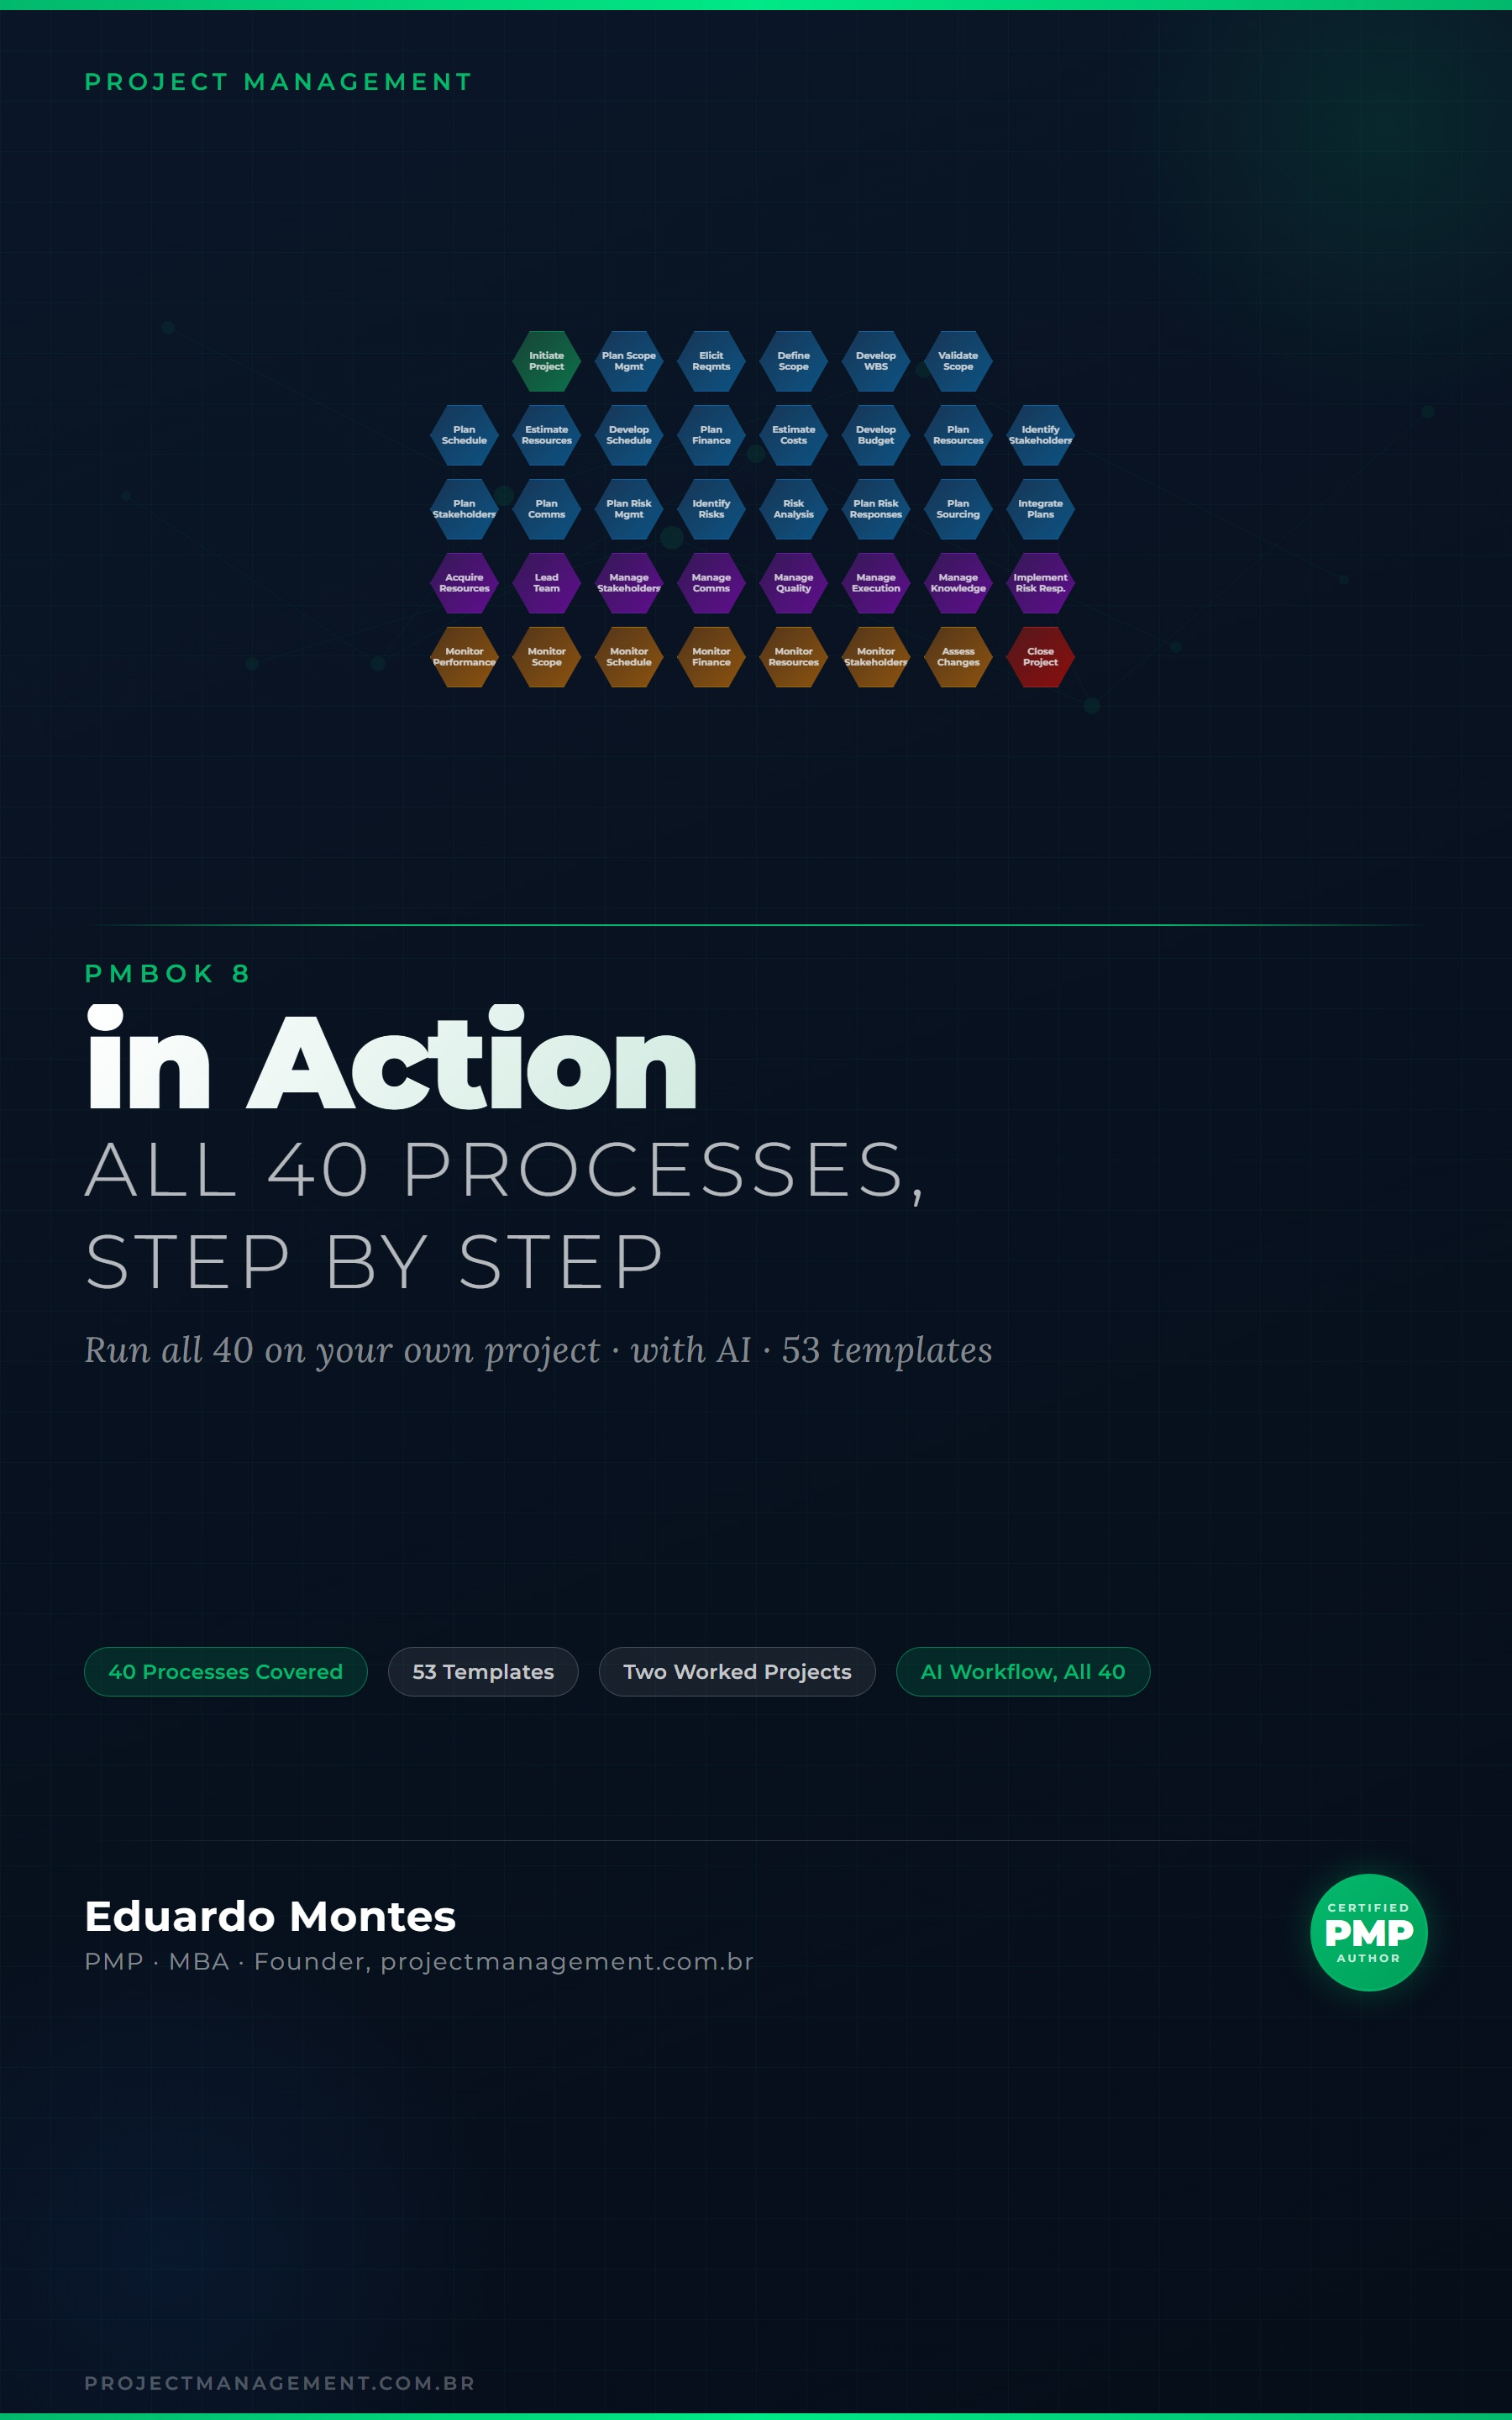
Go deeper in the book
PMBOK 8 in Action
The 40 processes of the PMBOK 8 Guide applied to one real project, with the finished artefact at every step.
See the book — US$ 9.98 →
 Project Together Office